Table of Contents
- Using Android Studio we can convert PNG, JPEG, BMP or static GIF images into WebP format
- step 1 : Load your android app project with images using Android Studio
- We have added test - jpeg and test - png images into the images folder
- step 2 : Convert the jpeg image to WebP
- step 3 : “Converting Images to WebP” dialog box will appear.
- step 4 : Preview and Adjust Converted Images .
- step 5 : Results Summary
- Useful Resources
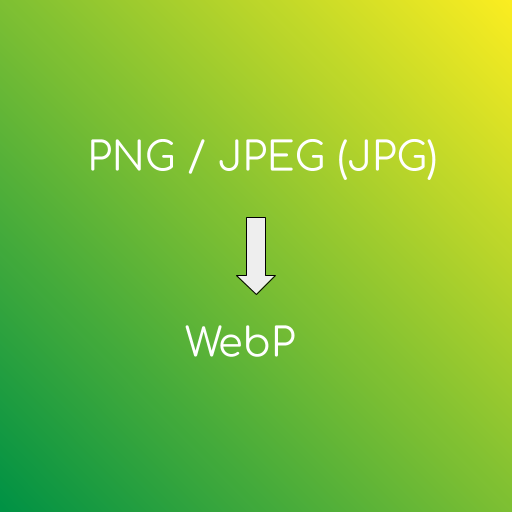
- WebP provides lossy compression like JPEG(JPG) as well as lossless compression like PNG for images on the web.
- Lossless WebP also supports transparency (also known as alpha channel) similar to traditional PNG format.
Thus, WebP images provides best of both worlds from JPEG and PNG.
Using WebP developers can create smaller sized images suitable for the web which makes the websites load significantly faster than traditional JPEG or PNG.
Android APK size can also be reduced if project assets are properly converted to WebP format.
To learn more - WebP
For Android ,
- Lossy WebP images are supported in Android 4.0 (API level 14) and higher - minSdkVersion of 14
- Lossless and Transparent WebP Images are supported in Android 4.3 (API Level 18) and higher - minSdkVersion of 18
This guide will help you learn to convert PNG or JPEG images into WebP using Android Studio. Similarly you can also convert other supported formats as well.
Using Android Studio we can convert PNG, JPEG, BMP or static GIF images into WebP format
step 1 : Load your android app project with images using Android Studio
We have added test - jpeg and test - png images into the images folder
 |
|---|
| Add Images to Project |
step 2 : Convert the jpeg image to WebP
- Right click on the image or the folder containing images to be converted in your Android Studio
- Select “Convert to WebP…” option
 |
|---|
| Android Studio - Convert to WebP |
step 3 : “Converting Images to WebP” dialog box will appear.
-
Keep the defaults settings.
- Lossy Encoding
- Quality 75 %
- Make sure “Preview/Inspect each converted image before saving” is checked
- Make sure “Skip files where encoded result is larger than the original”
Note : Backup your images as this tool will overwrite the existing jpg or png image.
 |
|---|
| Converting Images to WebP |
Click OK
step 4 : Preview and Adjust Converted Images .
 |
|---|
| JPEG VS WEBP |
In Lossy Encoding option, a Preview Window is shown to adjust the quality of image after compression.(This appears as we have selected “Preview/Inspect each converted image before saving” option in previous dialog box).
- Original JPEG Image on the left and lossy encoded WebP Image on the right.
- Also shows file size and encoded image preview.
- The middle area shows the pixels that differ between the original and the encoded image.
- 75 % Default Quality works best in most of the cases and there is almost no difference between the two image.
You can try and play around with the quality percentage settings to adjust according to your project requirements.
Note : If you set the quality percentage to 100 % and the minSdkVersion is set to 18 or higher, Android Studio automatically switches to lossless encoding instead.
Skip images with transparency/alpha channel checkbox is automatically selected if your minSdkVersion is lower than 18
Click Next or Finish
Your converted images are available in original image location
Note : converted images overwrite the existing jpg or png image
Convert the PNG image to WebP
Similarly, we can convert png image to WebP using the same steps as mentioned above.
 |
|---|
| PNG vs WEBP |
step 5 : Results Summary
We can create significantly smaller sized images using WebP format
- JPEG vs WEBP
- JPEG 168.1 KB (Before)
- WebP 31.1 KB (After - 18 % of Original Size)
- PNG VS WEBP
- PNG 387.1 KB (Before)
- WebP 30.7 KB (After - 7% of Original Size)
Also try lossless encoding, but usually the file size is larger than the lossy encoding.So prefer lossy encoding unless you require transparency or greater quality and size reduction is not your concern.
Lossless encoding converts instantly no preview available & You converted images are available in the same original image location.
Bonus Tip : Convert WebP images back to PNG
- Right click on a WebP image in Android Studio
- Search for “Convert to PNG” option
- A dialog box will appear, asking if you would like to “Convert Image to PNG and delete the WebP File” or “Convert Image to PNG and Keep The WebP file”
- Select appropriate action - “YES” or “NO”
- Your image will be converted instantly
 |
|---|
| Android Studio - Convert To PNG |
Useful Resources
Share This Post
The information contained on this blog is for academic and educational purposes only. Unauthorized use
and/or duplication of this material without express and written permission from this site’s author and/or owner
is strictly prohibited. The materials (images, logos, content) contained in this web site are protected by
applicable copyright and trademark law.

Join our newsletter!
Enter your email to receive our latest newsletter.